
HP Envy 5540 Printer - Set up with WiFi Easy Guide
If you are reading this blog so this video is only for you and we have explained how to set up your hp printer on wifi with easy way. Many people has common issue with printer that why printer is not communicating with computer and wifi?why printer is not connecting with wifi and device so here we have explained a complete set up method how to set up so lets start step by step –
Step 1- Unbox the Printer
1. First of all you should unbox the printer
2.Remove all packing materials from the outside of the printer.
3.Remove all the tapes from printer.
4.Remove the stickers from thhe printer control panel.
5.Now lift up the scanner lid slowly.
6.Then Open the scanner lid and remove all the tapes and packing materials from the scanner glass.
7.Then close the Scanner lid.
8.Open the ink cartridge access door by placing the fingers unders the small handles on the sides of the ink access door and then lift it up.
9.Remove the tape and packing from inside of the printer.
10.Now you can close the ink cartridge access door.
11.Then the pull to open the paper tray.
12. After that with the paper tray pulled out and put in the photo tray.
13.Then you should slide out the paper width guides and then remove all the tape and packing materials from inside the paper tray
14.Then Replace the output tray on the paper tray then you should push in the paper tray untill it locks into the place.
Step 2: Connect the power cord and set up your preferences
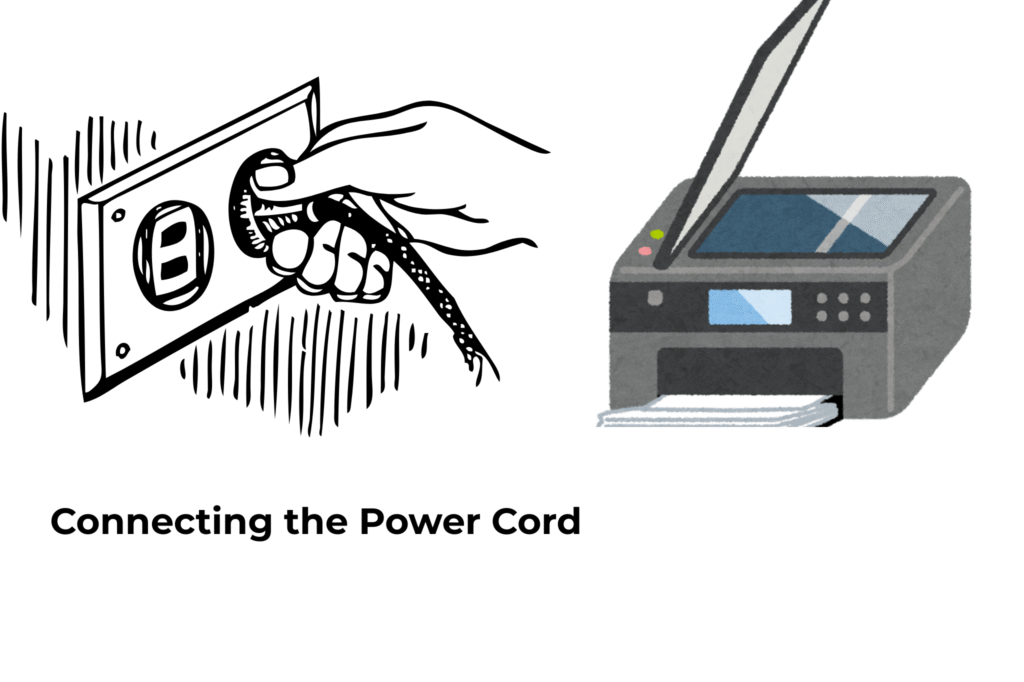
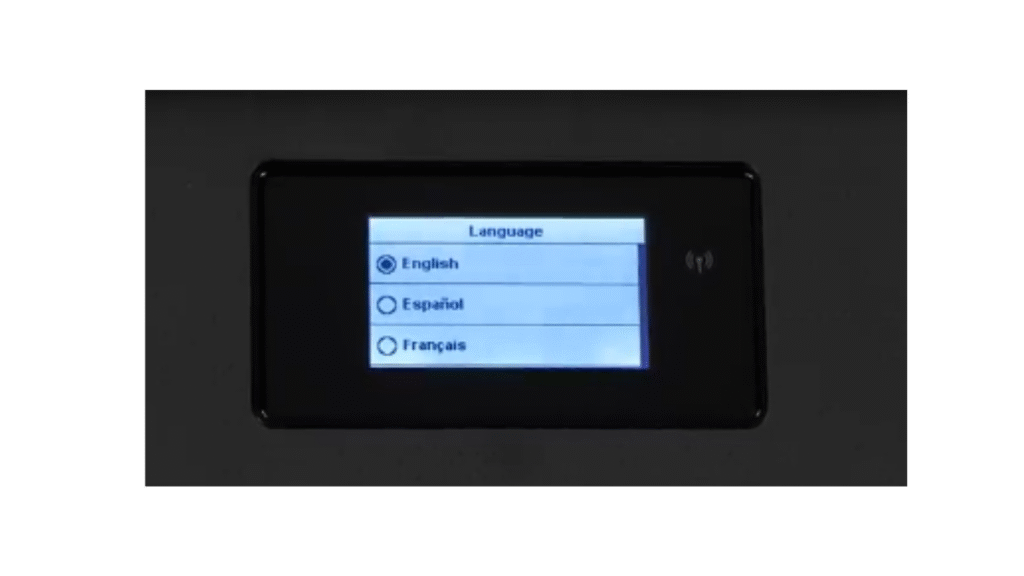
So now you can plug the printer into power, then turn on the printer, and then select your preferred language which you want to display on the control panel of the printer.
(Do not connect a USB cable during this process and this time.)
1.Connect the power cord first.
2.Then turn your printer on.
3.On the printer control panel you should choose your preferred language and then you should tap on ‘OK’ to confirm your language.
4.Now select your country/region and then tap on ”OK”
Now its time for ink cartridges to be installed in the printer before starting the set up process.
1So, first install the HP ink cartridges that are included in the printer box.
2.Now our HP Ink Cartridges genuine ink is ready to install.
3.Now you need to open the ink cartridges access door by placing the finger under one or both of the small handles on the sides of the ink access door and then lifting it up .
4.Now you would see the message on the display on the printer control panel ” The ink cartridge access door is open. Close the door to continue.”
5.Remove ink cartridge from its packages.
6.then you should remove all the protective tapes from there.
7And then remove all the orange tapes but make sure do not touch ink nozzles or copper-colored contracts.
Step-4. Insert the new ink cartridges
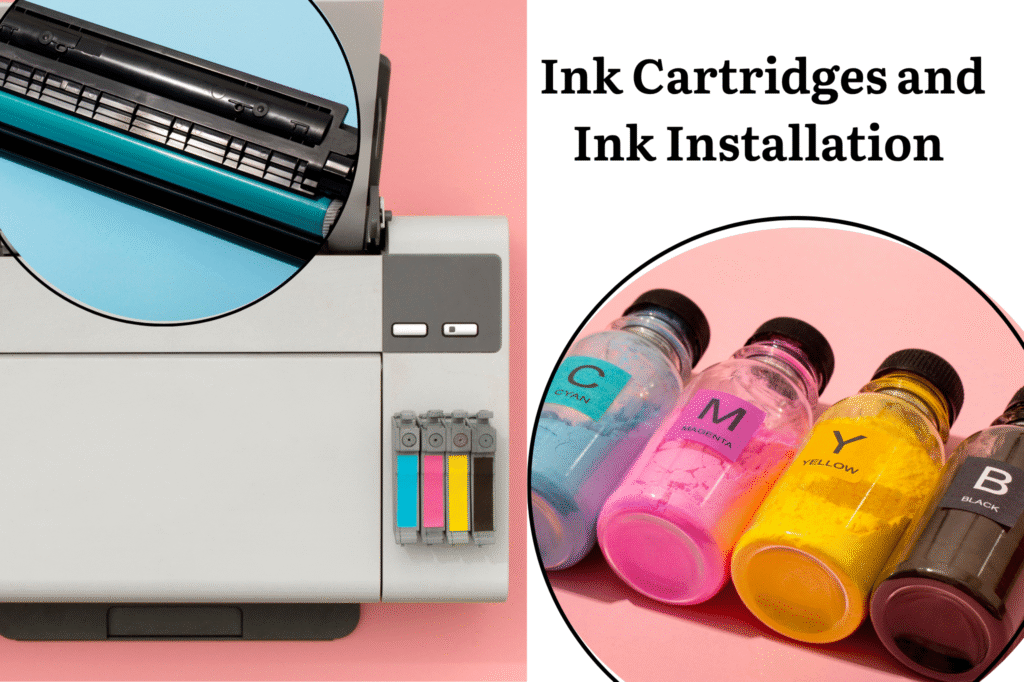
1.Insert the tri-color ink cartridges into the left slot.
2.And then Black ink should be installed into the righht slot.
3.Repeat these steps to install with other cartridge.
4.Now you can close the ink cartridge access door and then touch ”OK”.
Step 5: Now it's time to load the paper into the tray.
1.Now you can load the white paper into the printe paper tray(A4-size).
2.then grasp the handle on the bottom of the input tray and then put the tray to open it.
3.then close the paper tray it will show you the message on the printer diplay control panel.Then continue after closing the tray.
4.Then you can slide the paper back and the paper width guides.
5.Now you can push the tray in the paper tray untill it locks into the place.
6.Wait for alignment page automatically prints by printer.
7.If couldn’t align the you can see on your printer screen and slide left the select the setup option >then Tap on ”Tools” and then you should tap on ”Align Printer”.
Step 6: Installation of the printer Software
1. First of all, turn on the printer by pressing the power button.
2. Now we will see on the display screen that the blue light [WiFi light] is blinking.
3. Select the name of the country and language.
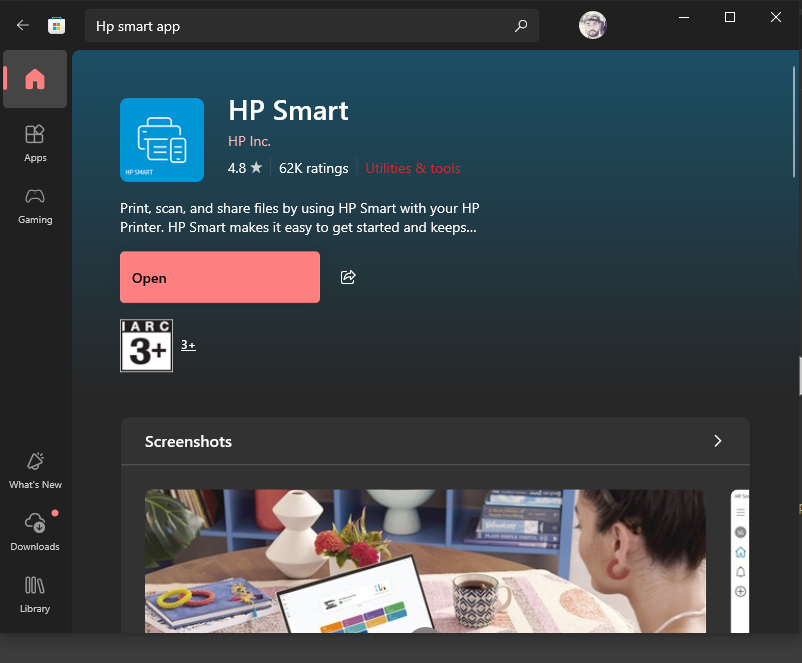
4. Now it will ask you to install HP software, and then you need to download the HP Smart app on your device.
5. You can install the HP Smart app on a Windows computer, Mac, or any phone.
6. Once your HP Smart is open, tap on Add Device, and then your device will find your printer. Then, select your printer.
7. After that you can follow the on-screen instructions and put in your Wi-Fi password.
8. After that, you need to wait until the process is completed.
9. Go to your device settings and go to printer and scanner [in PC], then you can click on Add Device and then wait for the printer to be listed.
10. Try to test a print, and then your printer is connected and ready to print.
Frequently Asked Questions—FAQs
Yes! Hp 5000 Series Printer Is Best For Business Work And Home Use.
Yes! This is Multifunction Printer , Easy to use and Printer, Copy and Printer With Any Devices.
Yes! You can set up this printer with wire and without wire (wirelessly).