
How to Set Up the HP Printer To WiFi-Complete Guide
How to Set Up HP DeskJet 2700 Printer: A Step-by-Step Guide
Setting up your HP DeskJet 2700 printer for the first time can seem tricky, but don’t worry! This guide will walk you through the process step by step, ensuring a smooth installation.
Step 1: Unboxing the Printer
1. Carefully unbox the printer and remove all protective materials.
2. Check the box for all included accessories:
– HP DeskJet 2700 printer
– Power cord
– Ink cartridges (Black & Tri-color)
– User manual
– USB cable (if provided)
Step 2: Connecting the Power Cable
1. Plug the power cord into the back of the printer.
2. Connect the other end to a power outlet.
3. Press the Power button to turn on the printer.
Step 3: Installing Ink Cartridges
1. Open the ink cartridge access door(usually located at the front).
2. Wait for the ink carriage to move to the center.
3. Unpack the ink cartridges and remove any plastic strips.
4. Insert the black cartridge into the right slot and the tri-color cartridge into the left slot.
5. Close the ink cartridge door.
Step 4: Loading Paper into the Tray
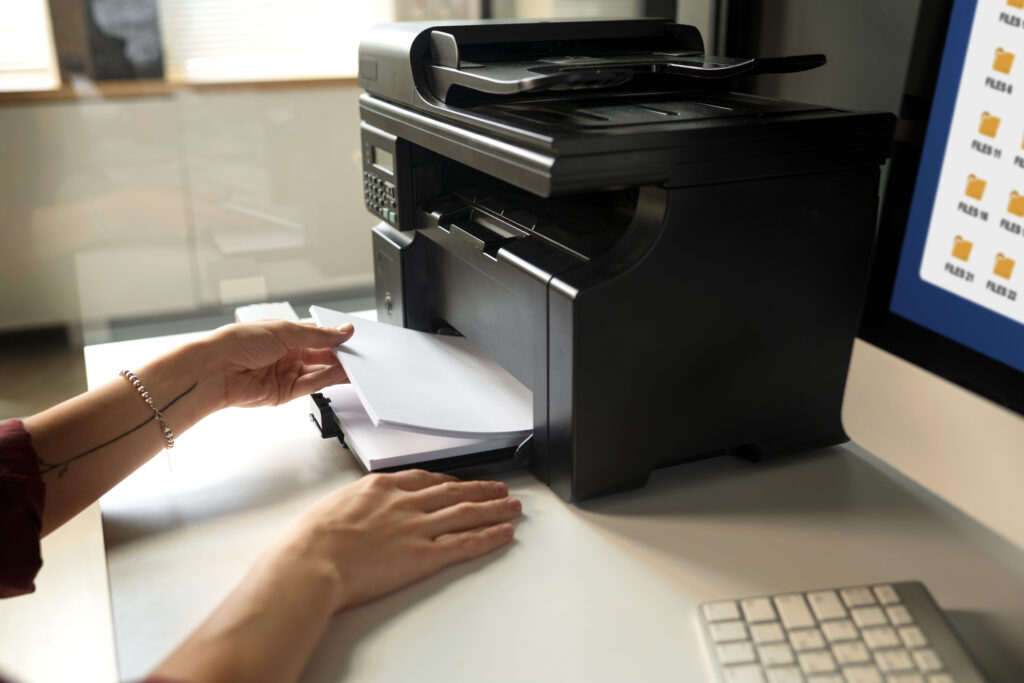
1. Pull out the paper input tray at the back of the printer.
2. Adjust the paper width guide to fit your paper size.
3. Insert a stack of plain A4 paper with the print side facing down.
4. Push the tray back into place.
Step 5: Installing Printer Software (HP Smart App)
To use the printer wirelessly, you need to install the HP Smart App.
For Windows/macOS:

1. Open a web browser and visit [123.hp.com](https://123.hp.com).
2. Download and install the HP Smart App.
3. Follow the on-screen instructions to connect the printer to your Wi-Fi.
For Smartphones/Tablets (iOS & Android):
1. Download HP Smart App from the App Store or Google Play Store.
2. Open the app and tap Set Up a New Printer.
3. Follow the instructions to connect your printer via Wi-Fi or USB.
Step 6: Connecting the Printer to Wi-Fi
1. Press and hold the Wi-Fi button on the printer until it starts blinking.
2. On your computer or smartphone, open the HP Smart App.
3. Select “Set Up a New Printer” and choose your Wi-Fi network.
4. Enter your Wi-Fi password and complete the setup.
5. Once connected, the Wi-Fi light on the printer will stay solid blue.
Step 7: Printing a Test Page
1. Open the HP Smart App or go to Printer Settings on your computer.
2. Select Print a Test Page to check if the setup is successful.
Troubleshooting Tips
– Printer Not Connecting to Wi-Fi? Restart your router and try reconnecting.
– Paper Jam Issue? Open the back panel and gently remove the jammed paper.
– Poor Print Quality? Run the Printhead Cleaning** option in the HP Smart App.
Final Thoughts
Setting up the HP DeskJet 2700 is quick and simple when you follow these steps. Once installed, you can print, scan, and copy documents with ease!