
Canon Printer Setup for Windows 10 & 11: A Simple Step-by-Step Guide
Canon Printer Setup for Windows 10 & 11 in 2 Minutes!
Introduction
Got a brand new Canon printer and can’t wait to start printing? Whether you’re using Windows 10 or Windows 11, getting your Canon printer up and running doesn’t have to be a tech nightmare. In fact, with just a few simple steps, you’ll be printing, scanning, and copying in no time.
This guide will walk you through the Canon printer setup process for Windows 10 and 11—from unboxing to your first test print. Let’s dive in and make setup as smooth as a fresh sheet of paper.
Before you jump into the setup, make sure you have:
Your Canon printer
A working Windows 10 or 11 PC/laptop
Wi-Fi or USB cable
The Canon printer model number
Access to the internet for downloading drivers
Once you’ve got everything ready, let’s get your Canon printer connected and configured.
Step 1: Unbox and Power Up
This might seem obvious, but let’s cover the basics:
This might seem obvious, but let’s cover the basics:
1.Unpack your Canon printer and remove all protective tapes and packaging.
2.Plug it into a power outlet.
3.Press the power button to turn it on.
4.Wait for it to initialize—this can take a few moments.
Step 2: Connect the Printer to Wi-Fi or via USB
You have two main connection options: Wireless (Wi-Fi) or Wired (USB). Let’s go over both.
Option 1: Wireless Connection (Recommended)
Option 1: Wireless Connection (Recommended)
Most Canon printers today support wireless connectivity. Here’s how to do it:
For Printers with a Touchscreen:
On your printer, navigate to Settings, then select Wi-Fi Setup
Choose Wireless LAN Setup.
Select your Wi-Fi network and enter the password.
Wait for the connection to complete. A Wi-Fi icon should appear when connected.
For Printers Without a Screen:
Use WPS (Wi-Fi Protected Setup):
Press and hold the Wi-Fi button on the printer until the light flashes.
Within two minutes, press the WPS button on your router
The blinking light will stop once the printer is connected.
Option 2: USB Connection
Prefer the old-school way?
1. Plug the USB cable into your printer and then into your computer.
2. Windows will usually detect the printer automatically.
3. If prompted, allow it to install the necessary drivers.
4. USB is straightforward and works great for home setups without Wi-Fi.
Step 3: Download and Install Canon Printer Drivers
While Windows can sometimes install basic drivers on its own, it’s always better to install Canon’s official driver and software for full functionality.
Here’s how:
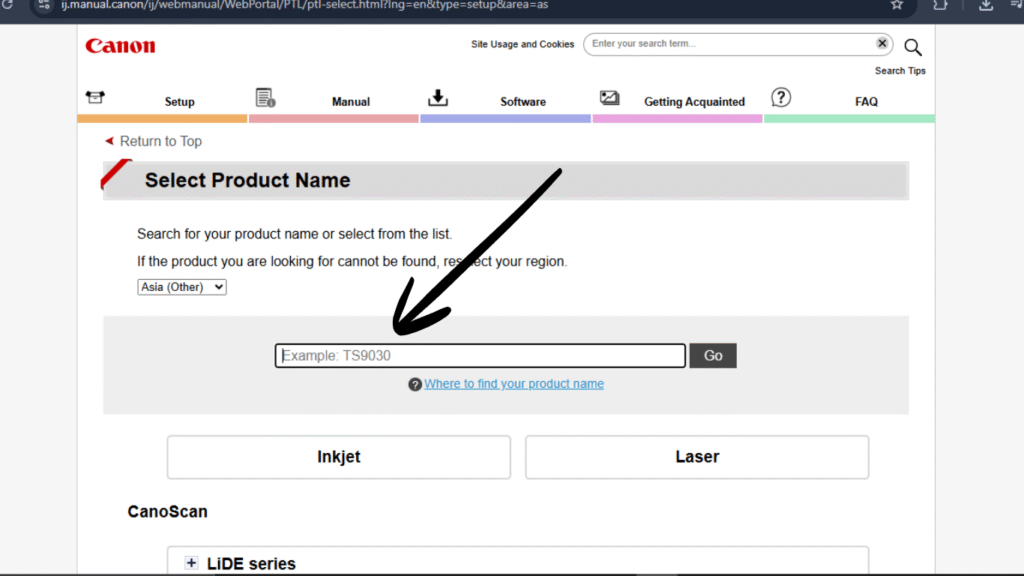
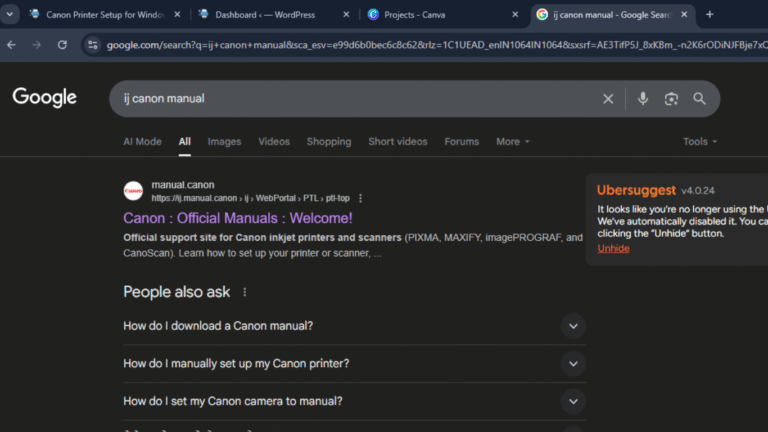
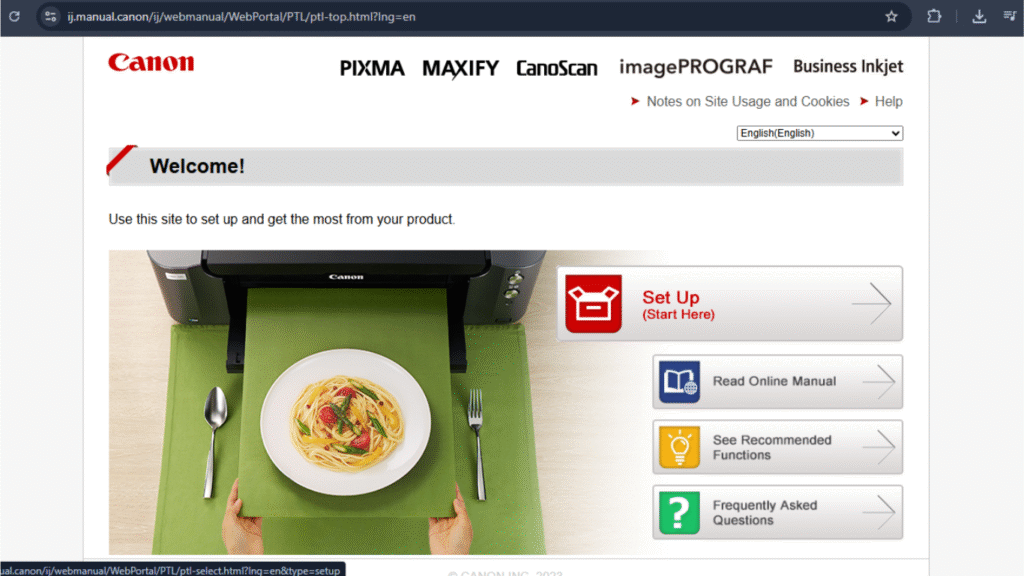
1. Visit the Canon Support Website.
2. Type in your printer model (e.g., Canon PIXMA MG3620).
3. Select Drivers & Downloads.
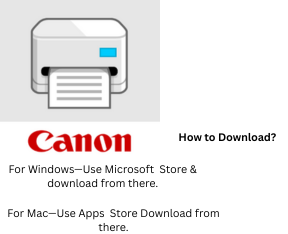
4. Choose your operating system
5. Download the Full Driver & Software Package.
6. Open the downloaded file and follow the on-screen instructions to complete the installation.
These tools make printing and scanning much easier.
Step 4: Add the Printer to Windows
Once your drivers are installed, your printer should be detected automatically. However, if it’s not available, follow these steps to add it manually:
1. Go to Settings > Devices > Printers & Scanners.
2. Click Add a printer or scanner.
3.Wait for your printer to appear and click on it.
Click Add device.
For Windows 11:
1. Go to Settings, then select Bluetooth & devices, and click on Printers & scanners.
2.Click Add device.
3.Choose your Canon printer from the list.
4.And that’s it! Windows will install it and set it as your default printer if it’s the only one.
Step 5: Print a Test Page
Time to see if everything is working as it should.
1. Go to Control Panel > Devices and Printers.
2. Right-click your Canon printer.
3. Select Printer Properties.
4. Click Print Test Page. If the page prints successfully—congrats! You’ve set up your Canon printer.
Step 6: Set Up Canon Printer for Scanning
If your Canon printer has a scanner, you can set that up too:
1. Open the Canon IJ Scan Utility (usually installed with the driver).
2. Place a document on the scanner bed.
3. Choose your scan settings.
Click Scan.
4. Your scanned file will appear in your chosen folder. Easy peasy!
Step 7: Use the Canon PRINT App (Optional)
Want to print from your phone or tablet?
1. Download the Canon PRINT Inkjet/SELPHY application from the App Store or Google Play Store
2. You can now print photos, documents, and more straight from your mobile device.
Troubleshooting Tips
1. Sometimes things don’t go as smoothly as planned. Here are a few quick fixes:
2. Printer not showing up? Ensure that it’s connected to the same Wi-Fi network as your computer.
3. Drivers won’t install? Restart your computer and try again, or disable antivirus temporarily.
4. Still can’t print? Check the USB cable or reconnect Wi-Fi.
Conclusion
Setting up a Canon printer on Windows 10 or 11 doesn’t have to be complicated. With a little patience and the right steps, you can get everything working in under 30 minutes. Whether you’re printing school projects, scanning important documents, or sending wireless print jobs from your phone, your Canon printer is now ready to handle it all.
So go ahead—hit that print button and enjoy your fully set-up printer!
FAQs
Yes, most Canon printers are compatible with both. Just make sure to download the correct drivers for your OS version.
Absolutely. Just visit Canon’s official support site and download the drivers directly.
Check if it’s set as the default printer. Also, make sure there’s no paper jam and that ink/toner levels are okay.
Use the WPS method—press the Wi-Fi button on the printer and the WPS button on your router within 2 minutes.